

The importance of preparation when painting and decorating
You can tell a good decorator from a bad by the preparation they do
Good quality painting and decoration depends on the preparation.
However, as preparation is the invisible part of a decorating job it is often undervalued. This can be frustrating for a professional decorator given that it is the most time consuming and important part of the job.
Abraham Lincoln said “Give me six hours to chop down a tree and I will spend the first four sharpening the axe.”
Done right, decorator’s preparation will lay the foundation for quick, efficient paint or paper application, a quality finish and a result that will last for years.
Since, the simple line on decorators quotes “prepare wall” hides a multitude of tasks before paint brush or roller get applied, we have listed below what preparation means and why it is important.
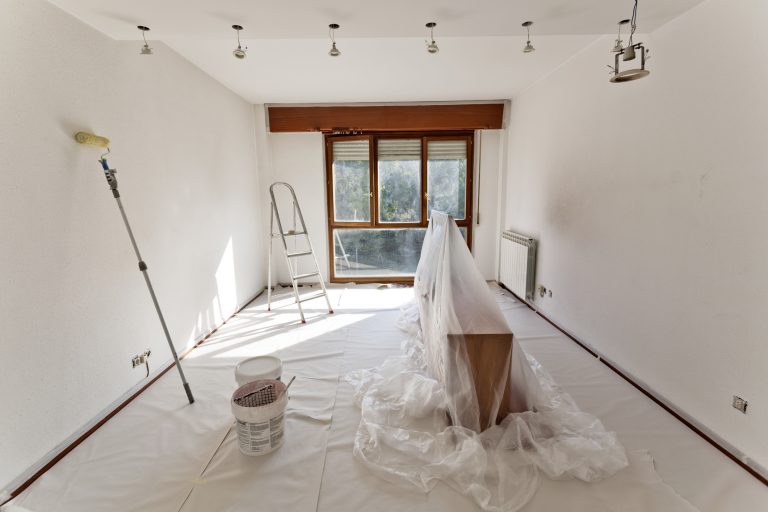
Sheeting & Covering
- Where a DIYer may put dust sheets only directly under the area to be painted / decorated professional decorators will often cover more extensive areas.
- Dust and spots of paint travel far further than one might anticipate.
Dust & Clean Walls
- Dust settles on a wall, no matter how smooth it looks.
- Walls should be “dusted” and dust cleared away to prevent being caught up in paint or adhesive and causing lumps, bumps & discolouration
Sugar Soaping
- Sugar soap removes grease and grime from walls. This helps paint and adhesive to stick better.
- In particular kitchen and bathroom walls often require to be washed down with sugar soap before decoration.
Masking or Taping
- Tape is used to protect areas / things (for example switches & sockets) that are not to be painted and also to help ensure clean straight lines at corners or edges
- Professional decorators will be good at “cutting in” so may use less tape than DIYers.
Loosening Sockets, Switches etc
- To ensure paint or paper goes under sockets, switches or light fittings decorators will take off or loosen them.
- DIYers may just mask such things with tape but this will result in lines at the edge of the switch / socket / fitting.
Scraping
- Loose or flaking paint should be scraped off to prevent lumps and bumps and also ensure new paint is not applied to an unstable surface.
Caulking
- Corners where walls meet or join the ceiling can be liable to cracking. Applying decorators caulk will ensure edges remain neater for longer.
Filling
- On a freshly decorated wall imperfections such as cracks or holes will show up more prominently. To prevent this filler is applied and then sanded.
- Also where pictures or other items have been hung on walls holes may require filling
Sanding
- Sanding not only removes lumps and bumps (especially where filler has been applied) but also “keys” (or roughens) a surface that means paint and paste adhere better.
Priming
- A priming coat helps paints and adhesive stick better to the surface.
- Most people are familiar with “wood Primer” but also freshly plastered walls usually require a primer coat as does metal.
Cutting in
- Whether considered part of the painting process or preparation cutting in is still a time consuming process relative to applying paint to the expanse of a smooth flat wall.
Cut down on preparation to save on cost (if you want!)
Professional decorators, with years of experience and training will, naturally, do preparation faster than the DIYer. Preparation will still, though, take the bulk of the time on most decoration work.
To save costs cut down on preparation work. However, be prepared for a lower quality job that will need freshening up much sooner and so cost more in the long run.
Arrange an Edinburgh Decorator to contact you
- Complete our Tradesperson Booking Form
- Tel: – 0131 315 0000
- Email: – info@homeforce.co.uk

